Writing a Great UX/UI Portfolio Case Study: A How-To
You’re reading Creating a Standout UX/UI Design Portfolio: The Ultimate Guide. Quickly navigate to other chapters:
In a FLOOD of mediocre-to-bad UX portfolios, how do you avoid the same mistakes? How do you stand out from the crowd?
In this section, let’s look specifically at the case study page.
Apart from avoiding the 4 most-common mistakes of design portfolios, here are my top 5 tips to write a great UX/UI design portfolio case study:
- Start with the end
- Frame the project
- Show your decisions (not your process)…
- …then show the results of your decisions
- Give the reader 2 clear next steps
Start with the end
Unpopular opinion: your project case study isn’t a story, it’s a sales pitch.
Therefore, don’t worry about “story” stuff – suspense, spoilers, narrative, plot.
Instead, worry about showing your skill.
With that in mind, your project writeup should begin at the end. Namely:
- Show some final visuals
- Show the business results (what metrics increased? by how much?)
(Remember that not showing real-world results is one of the 4 most-common product design portfolio mistakes. Here are 5 strategies for getting real projects so you can demonstrate real results 💪)
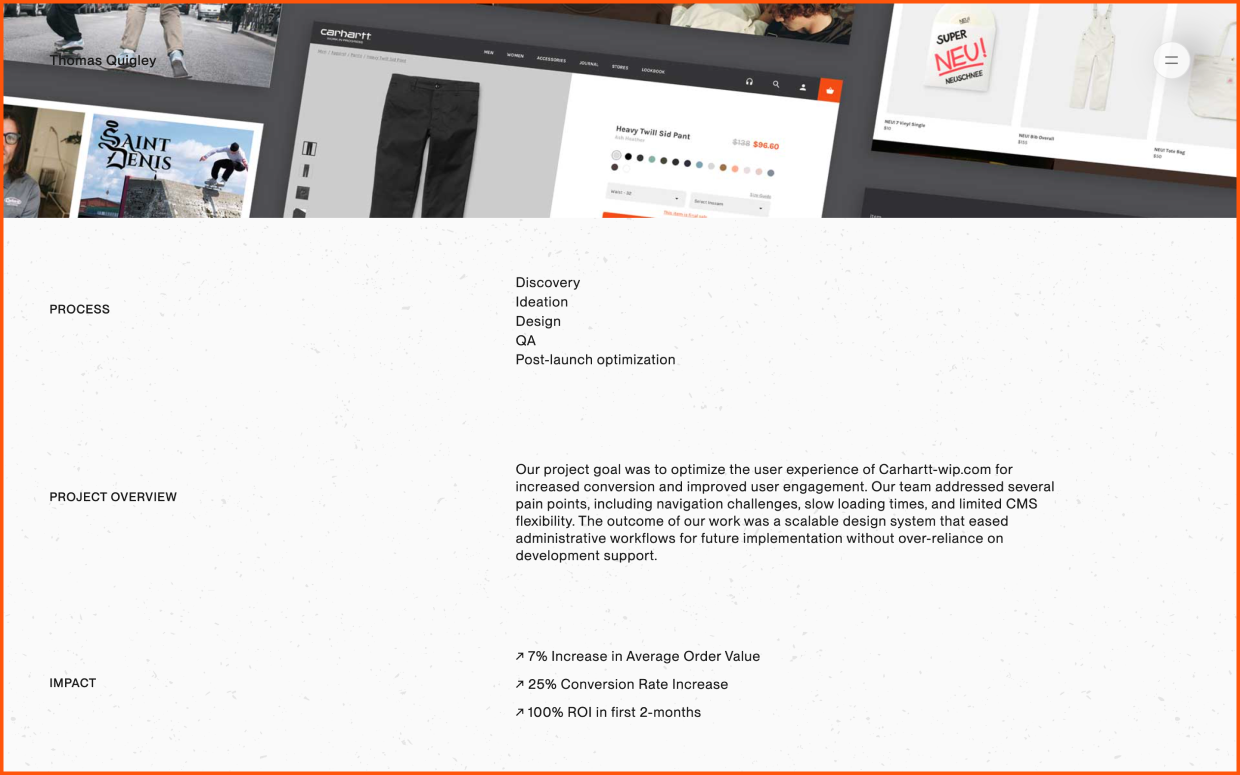
Thomas Quigley starts with the end in his Carhartt case study. Visuals and results early on – I don’t have to scroll 10,000px to see how capable he is.
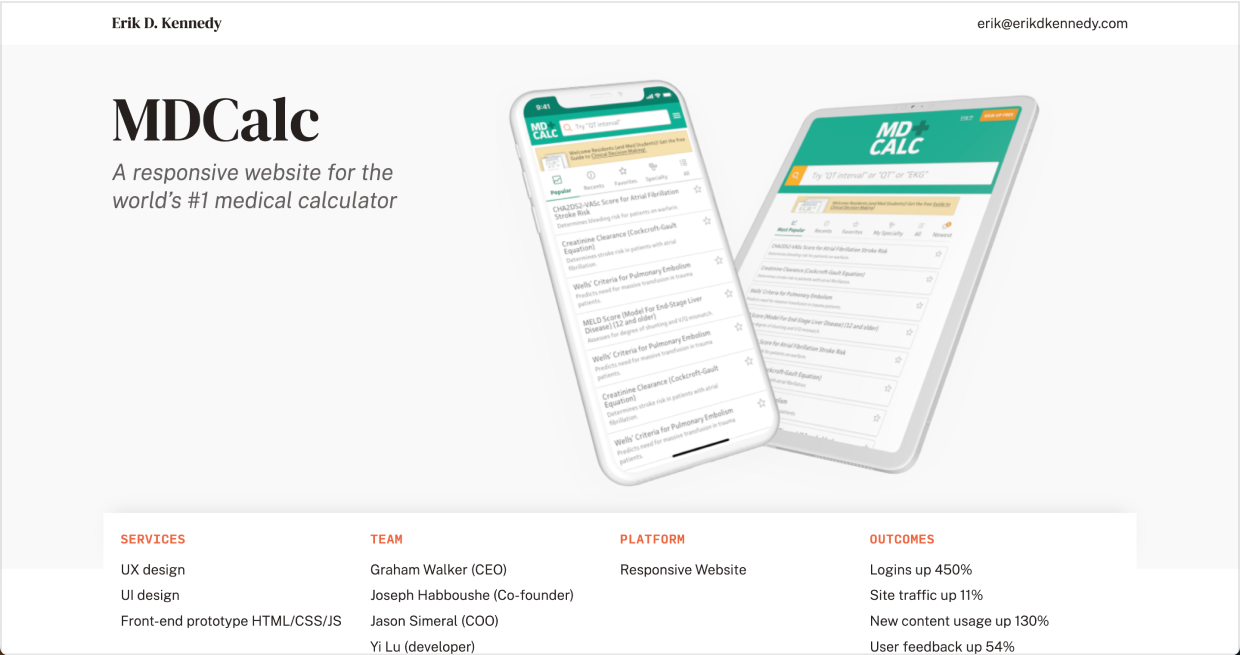
I try to follow my own advice. Both final visual design and business metrics (“outcomes”) are above-the-fold.
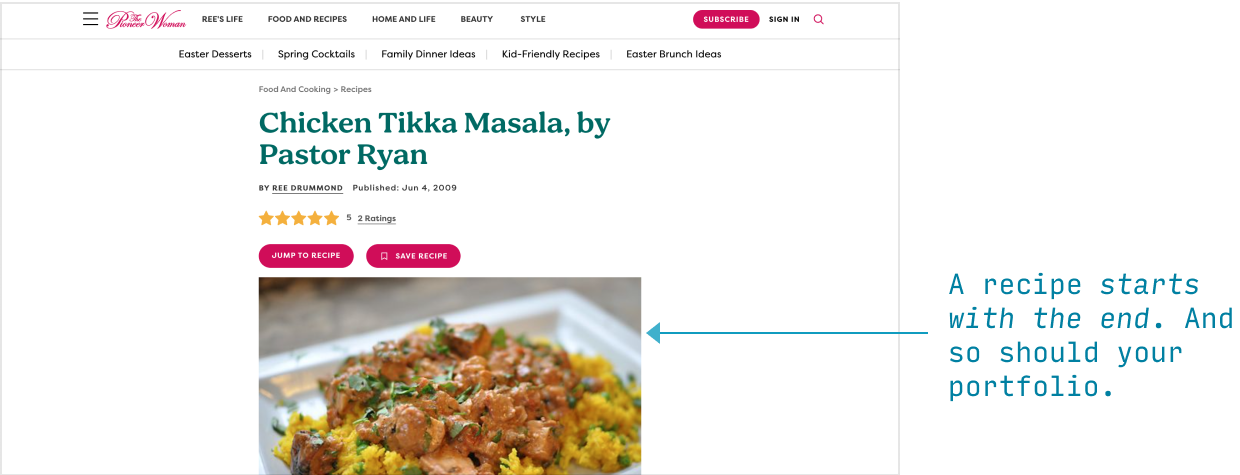
Ridd makes the point that a portfolio case study is a bit like a recipe post. Your first job is to convince them that it’s worth going through the hard work below. So start with the delicious finished product!
Anyhow, we’re getting ahead of ourselves. There are a few other things we want to include above-the-fold too 🙂
Frame the project
Apart from “starting at the end” by showing results early on, you also want to give some context to what the project was all about.
This is often just a few quick metadata stats:
- What you did
- For who
- When
- With who
- Platform (web, iOS, desktop app, etc)
- Goals
- Outcomes (talked about above 🙂)
You don’t need all of these things all the time – just enough to give your reader a sense of the project – and your particular role in it.
Here’s Katie Cooper’s project framing:
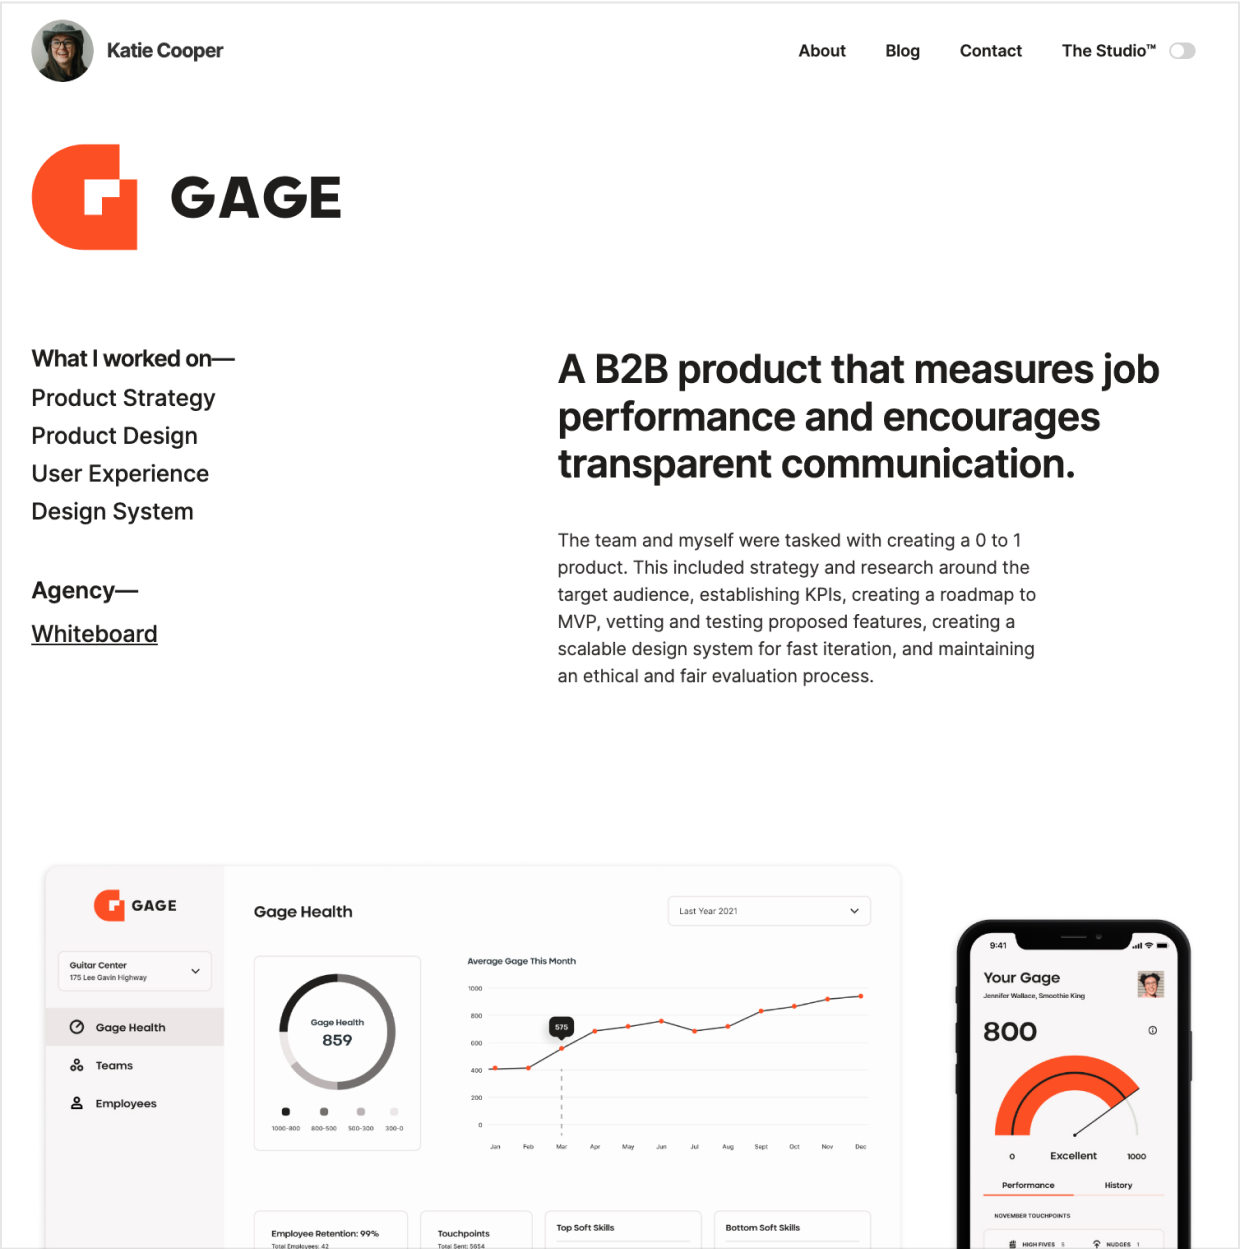
This is great! 😍 A few things to note:
- Starting at the end. Look at those gorgeous visuals 🙂
- A one-paragraph summary. In addition to the quick stats, she has a short project summary. This is another great way to sum up the project framing information 👍
- Giving credit. She calls out the agency she worked with. This helps me, the reader, know the context and team she worked with. Later on, she specifically mentions who was on the team, and it’s clear she’s the only designer on the project. Again, super useful for evaluating her skills 😎
And look, regarding credit: don’t try to hide if you didn’t do everything. Experienced designers know design isn’t a single-player game. There’s no shame in, ya’ know, having colleagues who contributed. And generously acknowledging and praising the contributions of fellow designers or the broader team is a good thing. It signals to your future employer that you’ll be generous with credit when working for them 😉
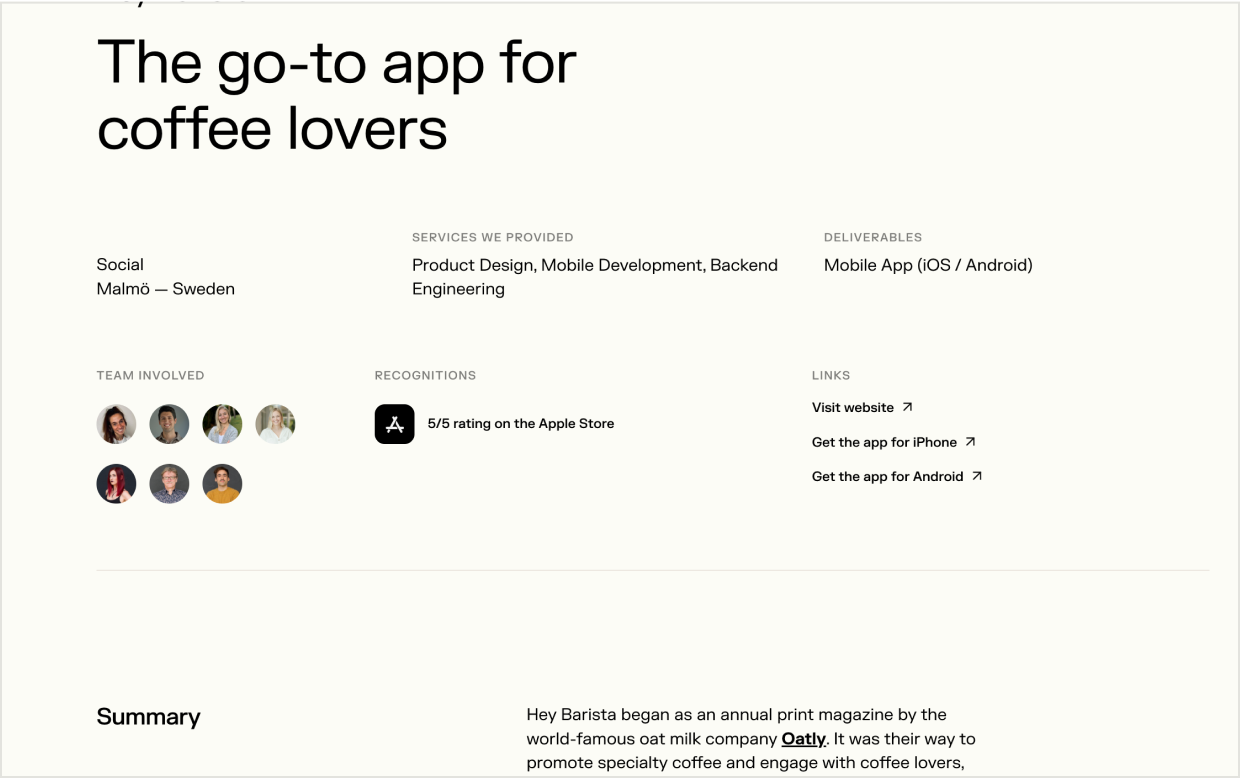
Agency Z1 has a slightly different take on the framing-the-project metadata, and includes fields like awards, links to the live site, and client location. You can play with this stuff, add your own personal style 👍
Show your decisions (not your process)
Now we get the to body of the case study. Note that I’m not calling this the “writeup”, and I’m definitely not calling this “the process”.
(You read the part of this series on the most common portfolio mistakes, right? Overemphasis on process and too much text are literally 2 of the 4 😬)
What you want to do is succinctly show the decisions a future client would care MOST about.
- Why did you choose the fonts/colors you did?
- Why did you go with one design over another?
- Why is this page laid out how it is?
- Why is this element like it is?
My FAVORITE way of showing design decisions succinctly is annotated designs. It’s seriously underrated, IMO 🤩
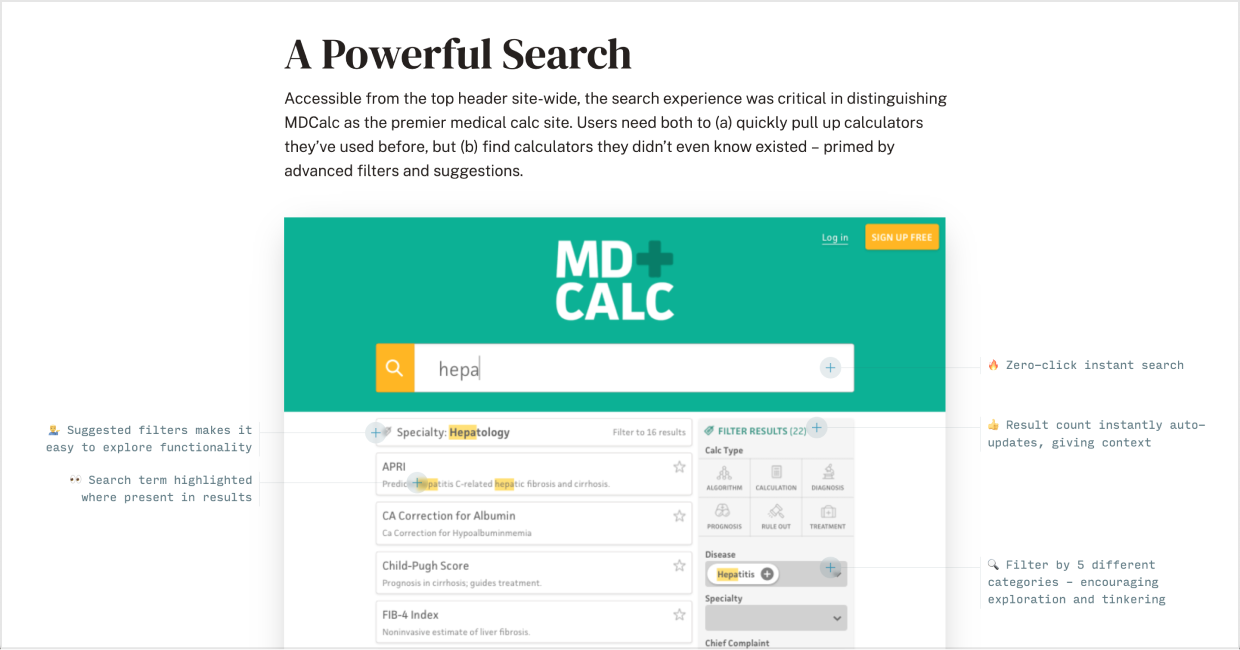
In my MDCalc case study, I use pointers to annotate the design with rationale and thought process (e.g. “Suggested filters make it easy to explore functionality”).
Nothing called out is rocket science, but anyone reading can see, “Ah yeah, Erik is thinking through the details here; everything is considered”.
One important type of decision to show off: how do you decide when there are tradeoffs?
(Which is, let’s be honest, like, always 🤷♂️)
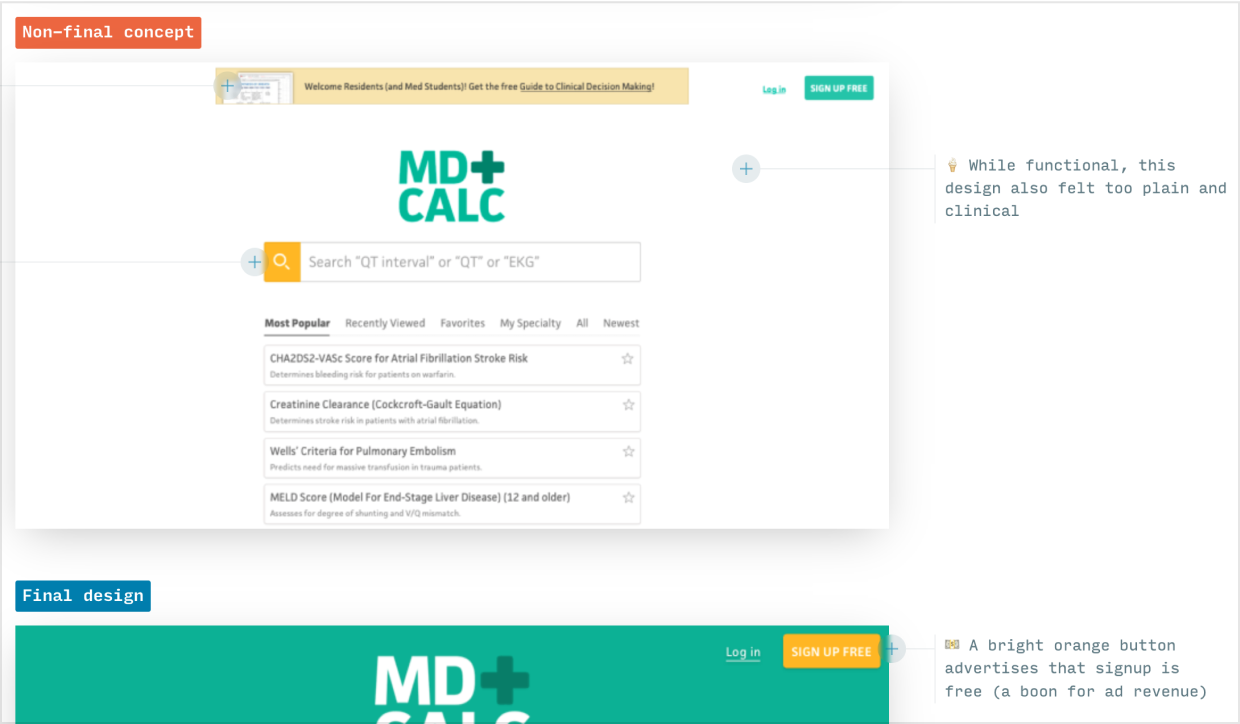
Above, I show a non-final concept vs. the final design – annotated with the pluses/minuses of each.
Top-notch design firm Ueno (purchased by twitter) uses catchy little icon-as-bullet-point lists to annotate their decisions (wish there was more rationale given though 😅).
Every icon represents a design decision about how to achieve a certain goal. I’m all about it 😍
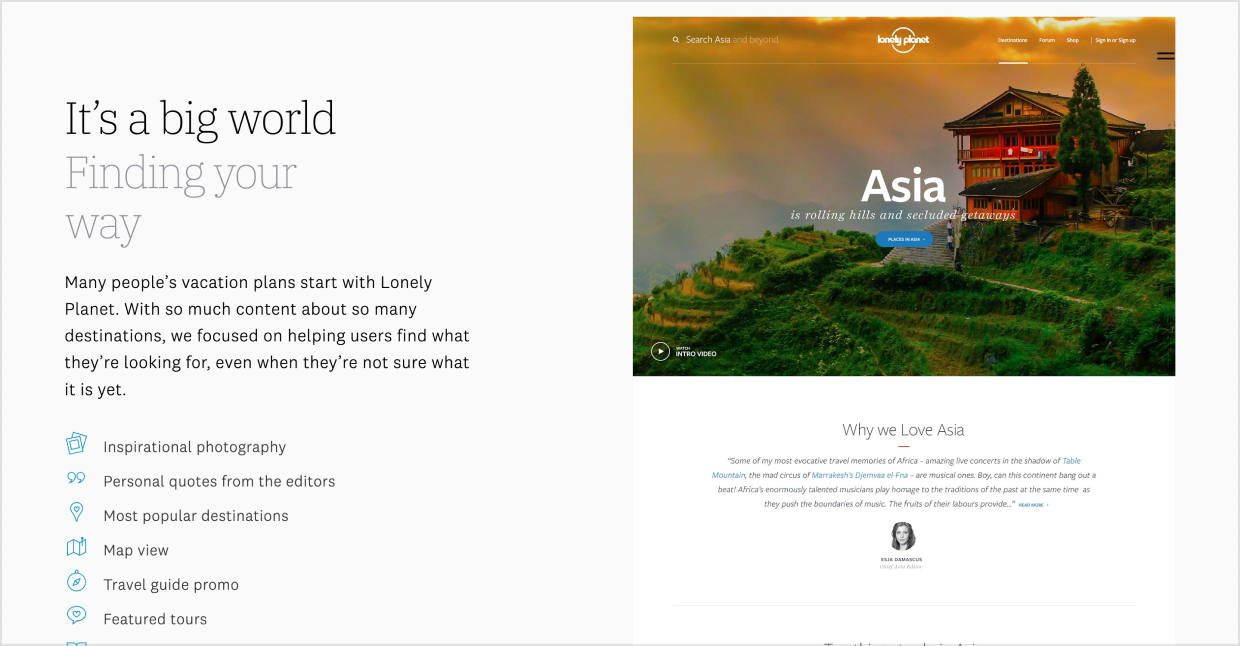
And Luca Orio (shoutout to Learn UI Design students 🙌) gives a bit of a decision-logic (“Every section of the app is reachable with a maximum of three taps”) and shows the associated beautiful visuals.
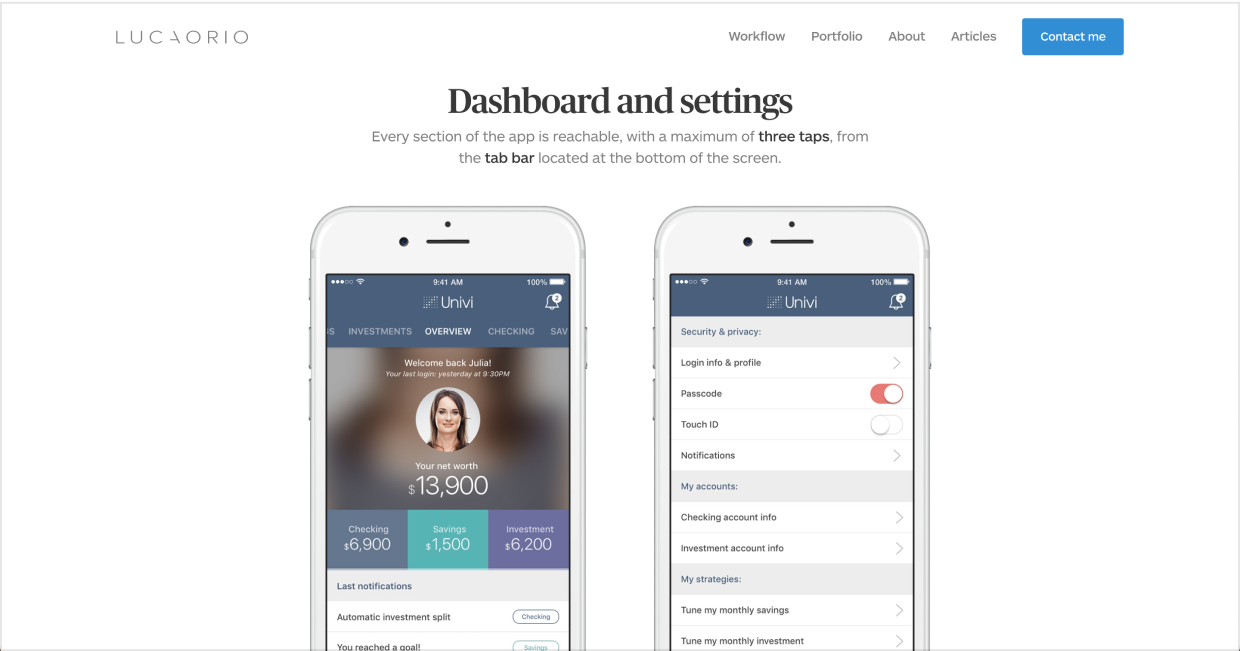
It’s my belief that the body of the writeup is best thought of as ANNOTATING your DECISIONS. Whether it’s with captions, pointers, bullet points, or short paragraphs, the emphasis is on showing and explaining why.
That’s the best way to avoid yet-another-wall-of-text (that design managers are all-too-quick to close 😬).
Show the results of your decisions
Once you’ve explained why you made the decisions you did, it’s time to show that they paid off 😁 (assuming they did – more on that below)
Now’s when you devote a bit more space to metrics that went up-and-to-the-right. (And yes, if you start with the end, then you should’ve already briefly touched on these at the beginning).
Here’s Ueno again:

Perfect example. If I want my app to have 77%-better 7-day retention, I know who to hire 👍
What if not ALL metrics improved? 🤔
Then tell us why!
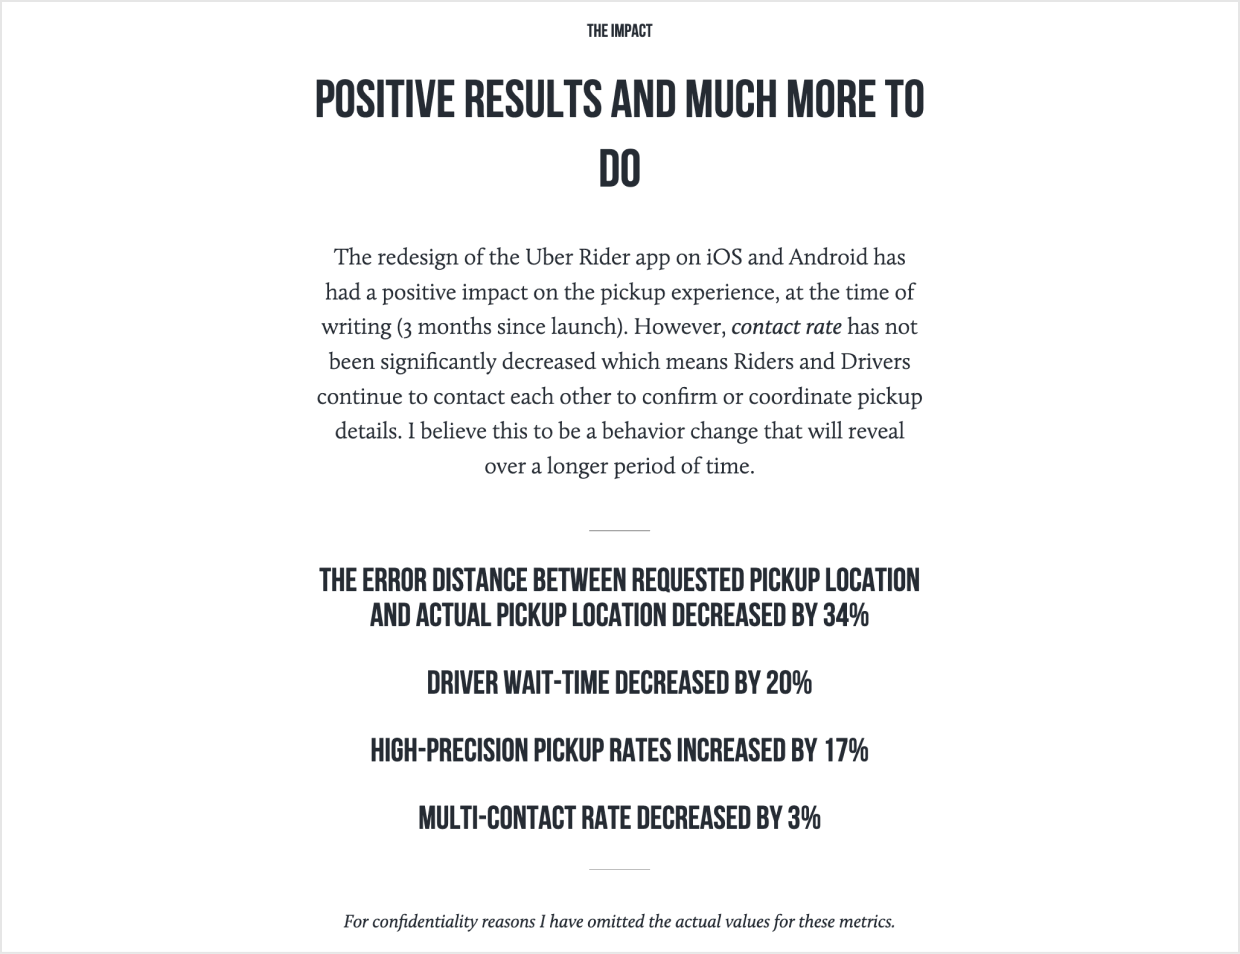
Here, Simon Pan contextualizes why one goal metric didn’t immediately improve – but also lists a bunch of metrics that did.
What if there were no baselines for metrics?
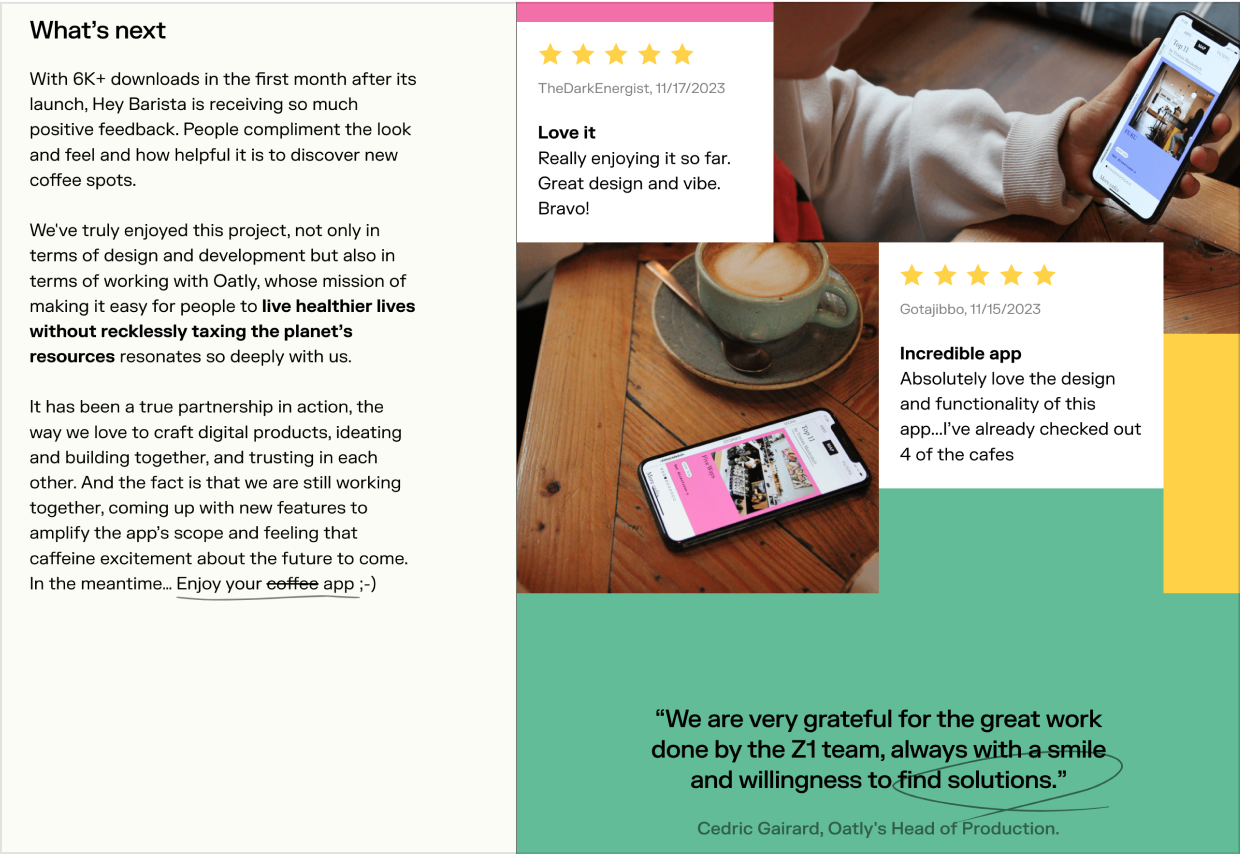
If you’re building something zero-to-one, then show other proof the project was a success, like Z1 does:
- Number of downloads
- Feedback and ratings from real users
- Client testimonials
What if NO metrics improved? 🙈
Then – real talk – you need to work on your design skills. Unless you’re designing something that’s already pretty optimized, you should virtually always see metrics improve.
The most important skills around this are:
- Copywriting. The art of driving action with written words.
- Usability heuristics. The most efficient way to improve usability is to know heuristics to follow across a wide range of situations.
- Usability testing. Repeatedly watching users get stuck/confused. This drills it into your head how to avoid similar situations in the future.
They’re not for everyone, but if you want to level up your copywriting and usability skills, I have two full-length video courses on those subjects:
- Landing Page Academy, my course on designing high-converting, gorgeous websites.
- Learn UX Design, my course on usability, research, and interaction design patterns. Focuses on the actually practical side of UX (not the endless deliverable bingo of so many UX bootcamps 😅)
Give the reader 2 clear next steps
I can hear it already. “Two next steps? Why not just one? Focus, Erik, focus!”
It’s true. At the bottom of a portfolio case study, I believe there are two calls-to-action you should include:
- Read another case study (if someone’s not yet convinced)
- Hire/contact me (if someone is convinced)
This is exactly what Luca Orio does:
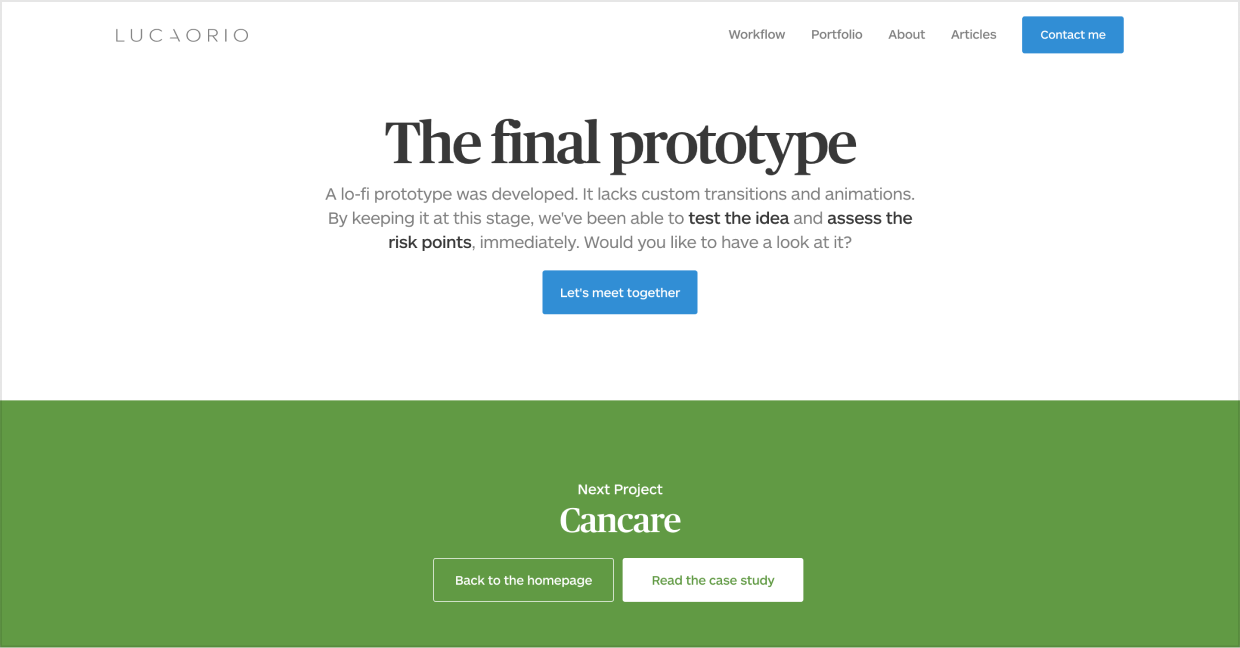
Saying “Hire me” can be a biiit on the nose, so verbiage like “Let’s meet together” works too 🙂
Bryn Taylor does something similar. “Read more” if you’re not convinced, “Hire me” if you are.
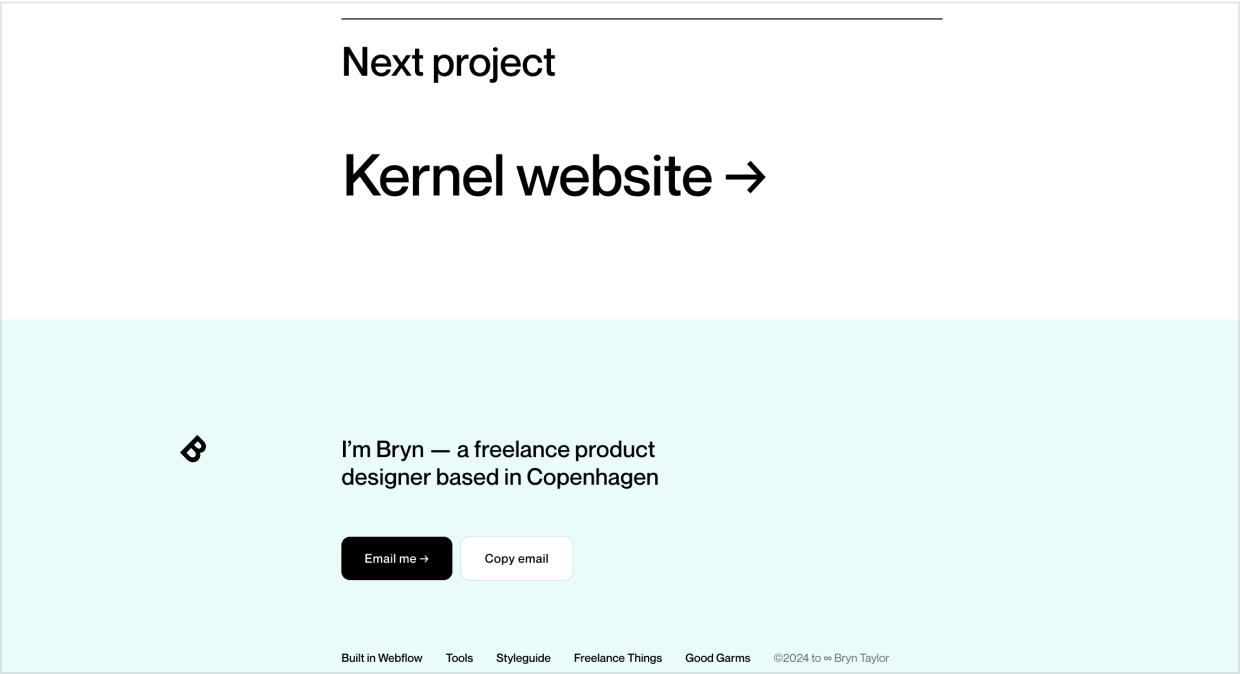
Notice how he has a “Copy email” button? – that’s great for those whose OS default email client (ahem Apple Mail cough) is not their preferred email editor. Nice touch, Bryn!
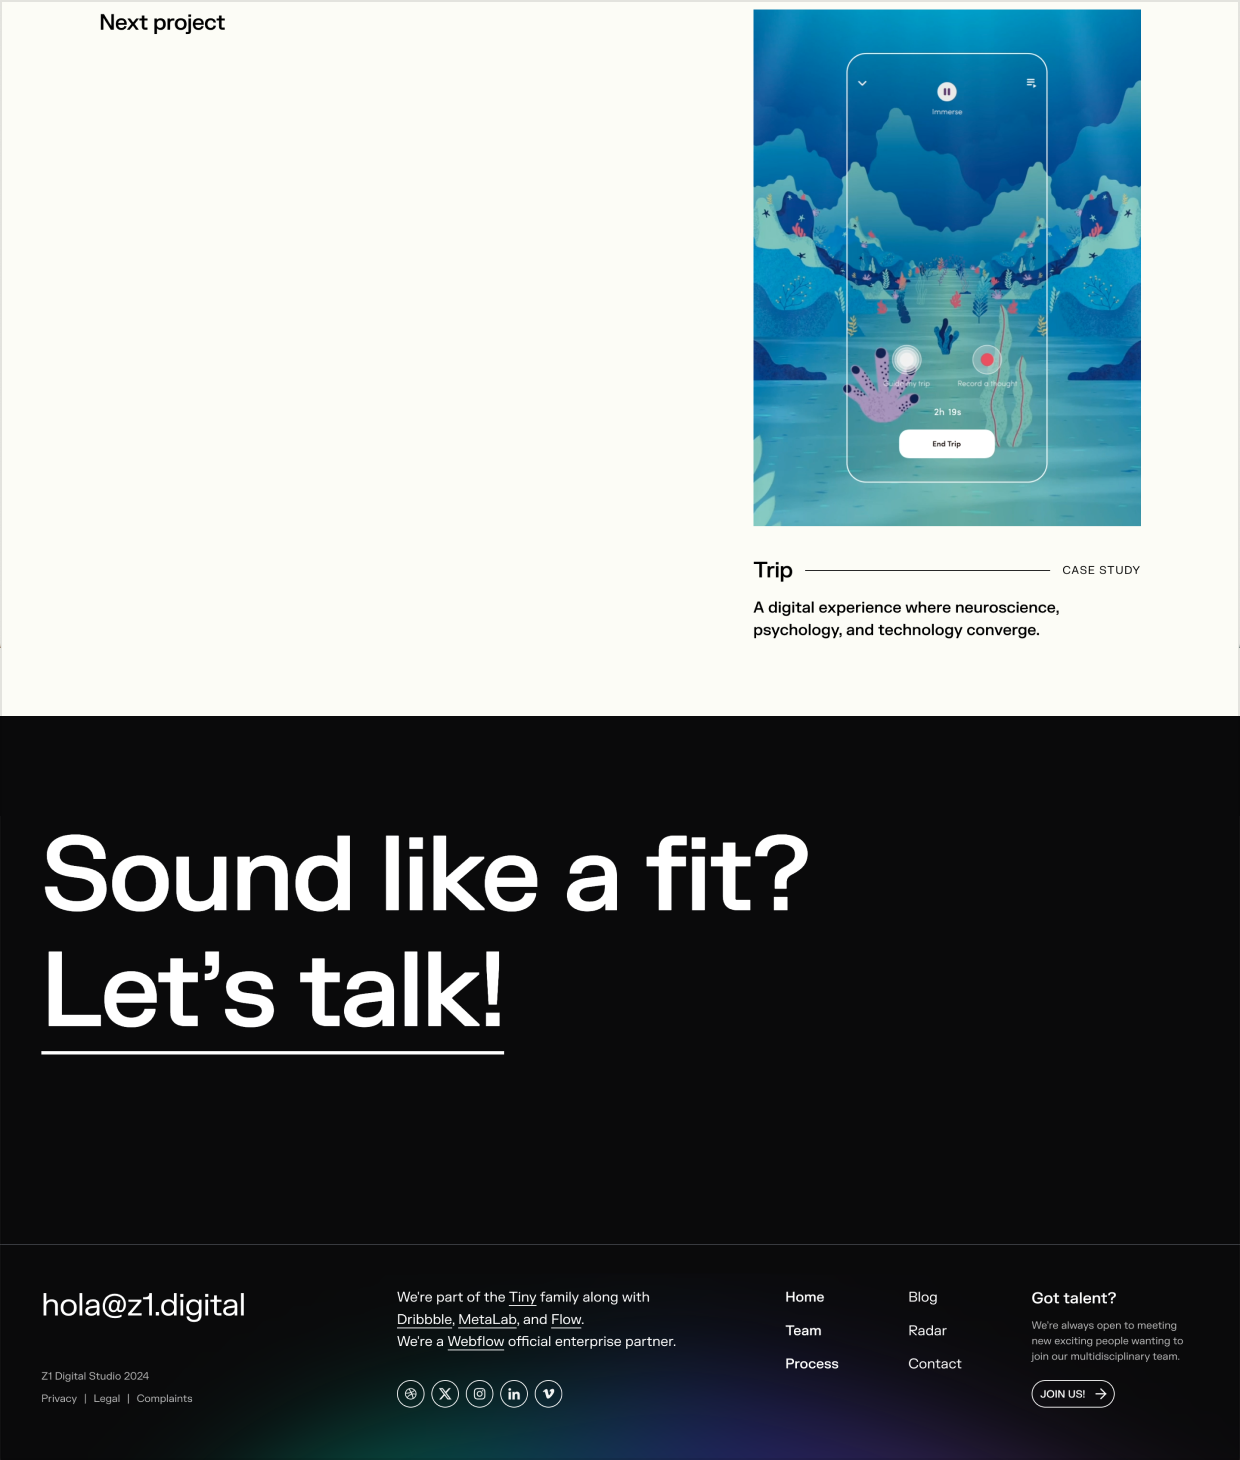
And just for good measure, here’s Z1 one more time. Same deal: “Next project” for the unconvinced; “Let’s talk” for the believers 🙌
And, friends, my how the time has flown! We’re now at the very bottom of your case study page.
Along the way, we’ve:
- Started with the end
- Framed the project
- Showed our decisions (not our process)…
- …then showed the results of our decisions
- Given the reader 2 clear next steps
Are you ready to look at some example portfolios? That’s the next chapter in this series. Hope to see you there ✌️
Continue to Chapter 4: 10 Great Example Portfolios, Explained
Get 30 ways to add to your portfolio
From homepage to project case study, I'll send you 30 (illustrated) techniques for spicing up your portfolio.
Exclusive design tutorials. Over 60,000 subscribed. One-click unsubscribe.